Repair
Repairing an ISO tank requires meticulous attention to detail and adherence to safety standards to ensure the integrity of the tank is maintained. Here’s a general process for repairing an ISO tank:
- Assessment and Inspection:
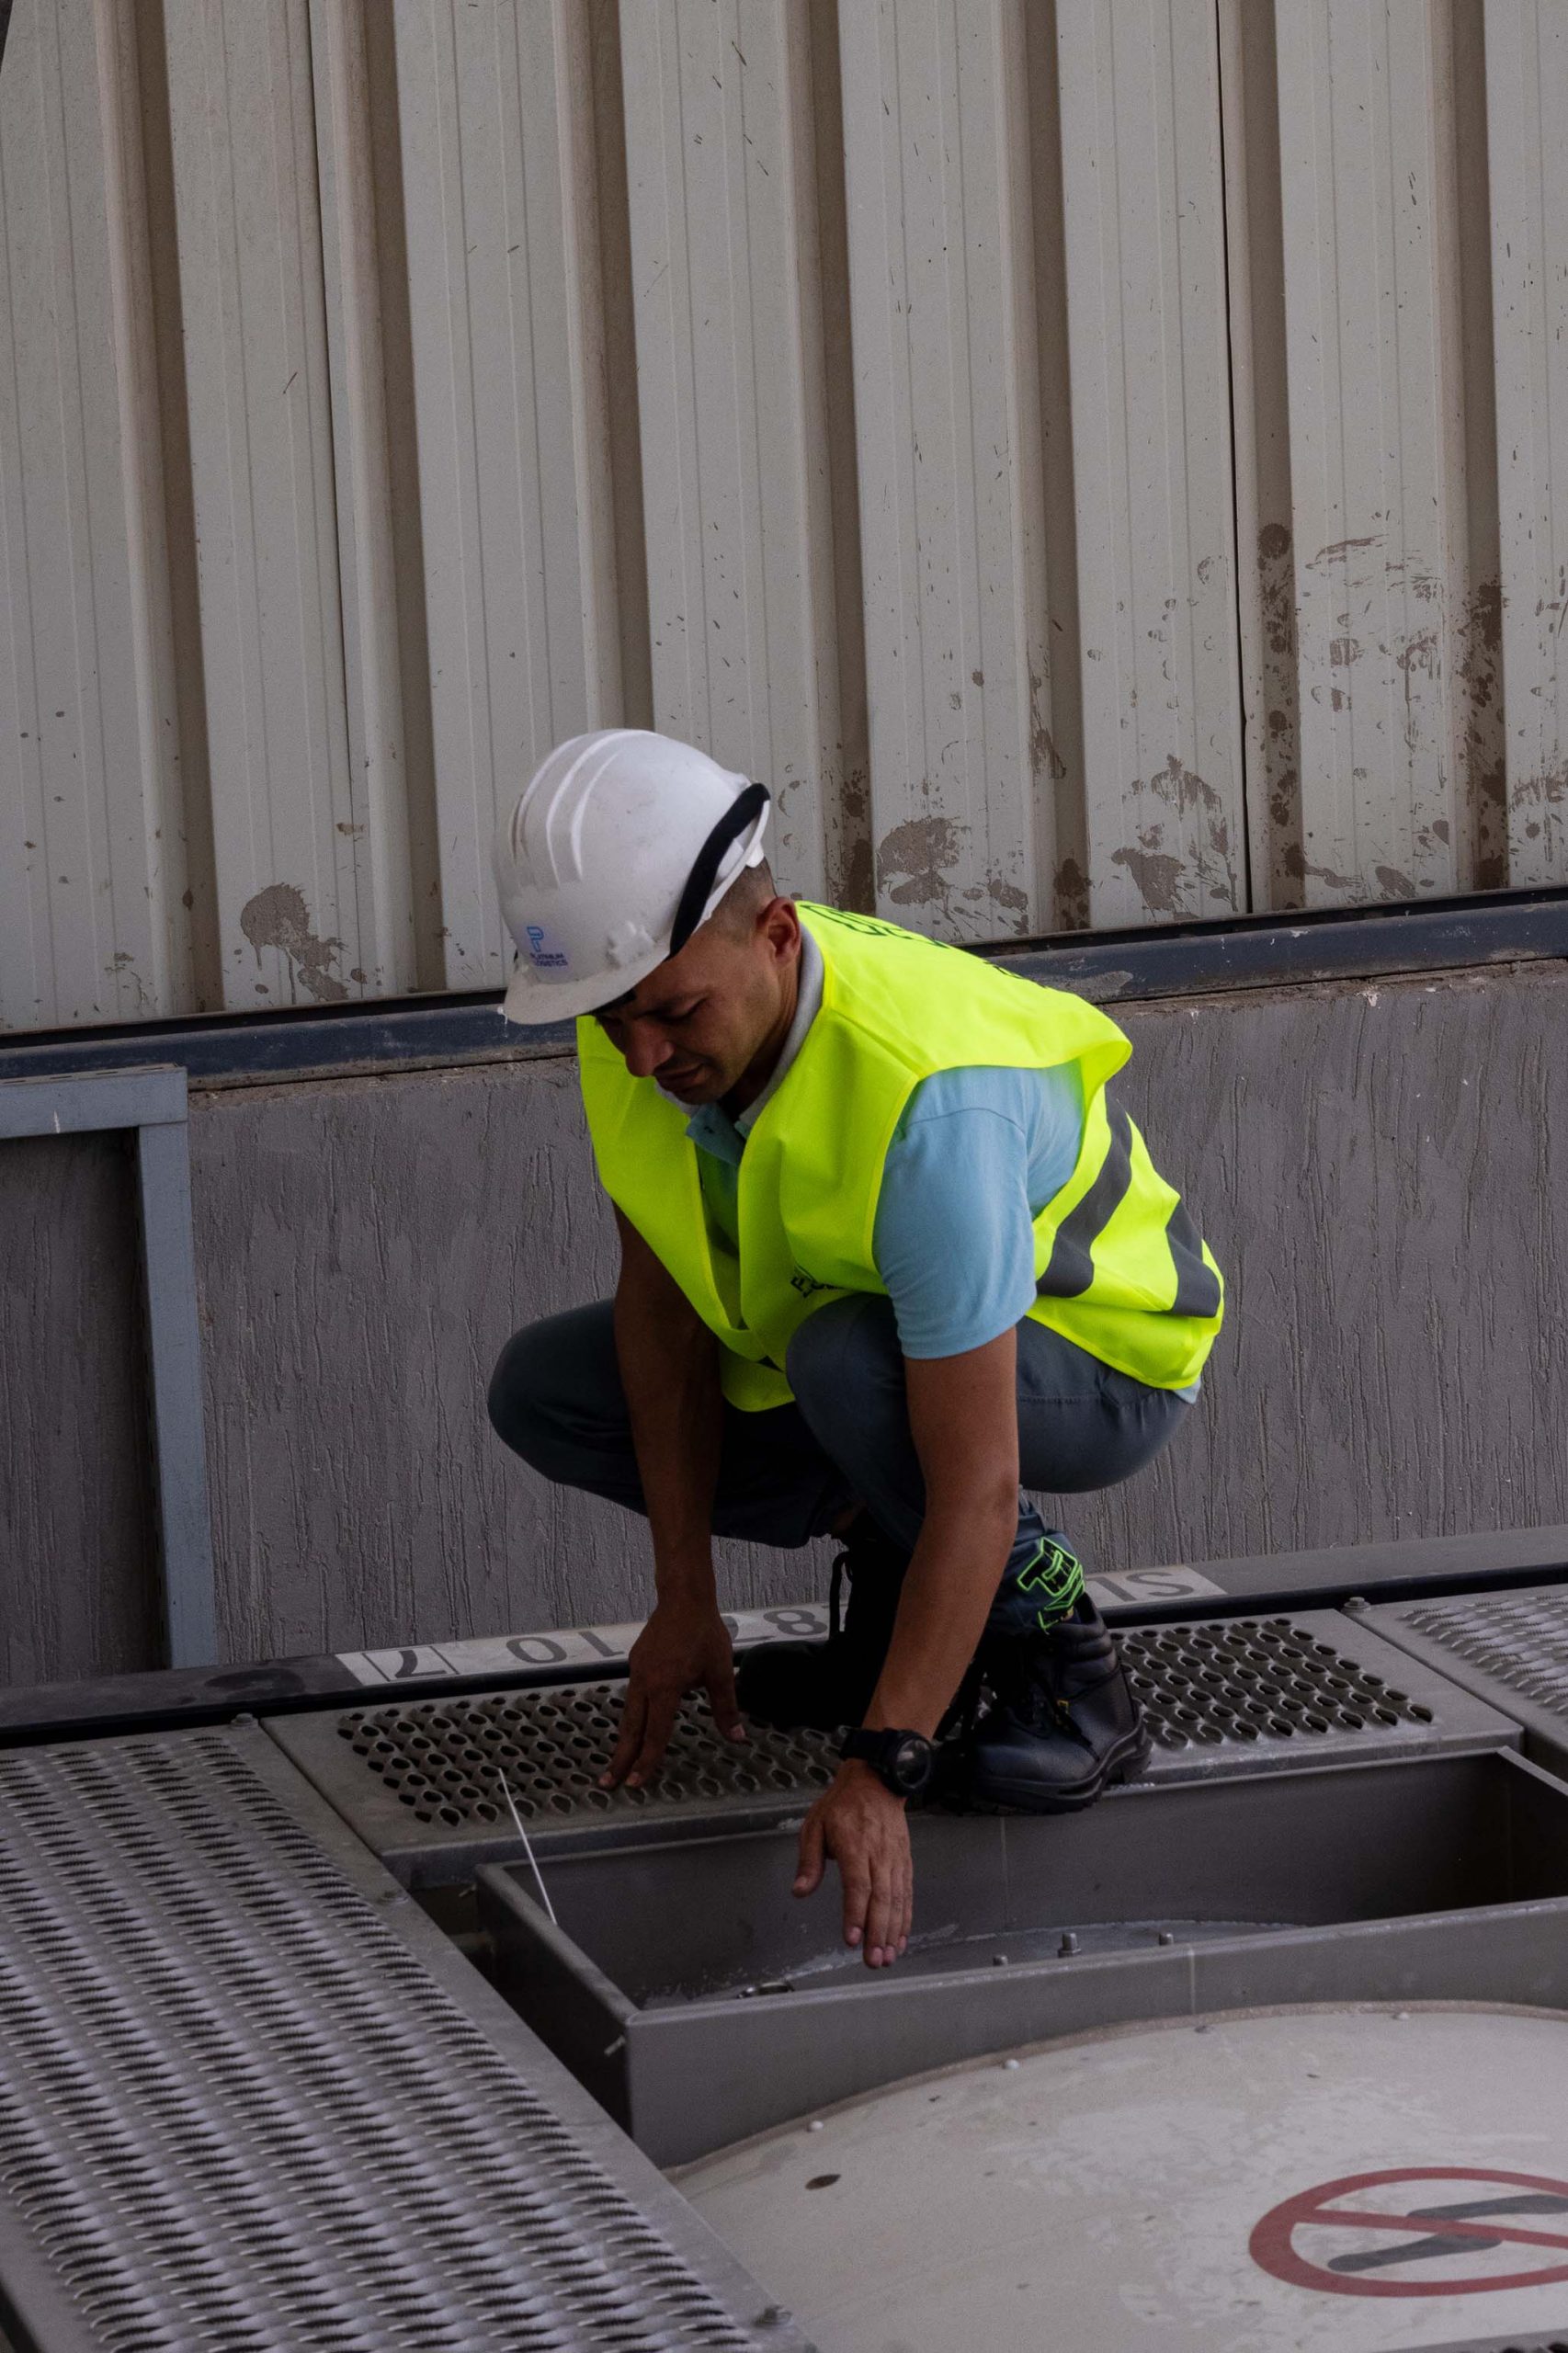
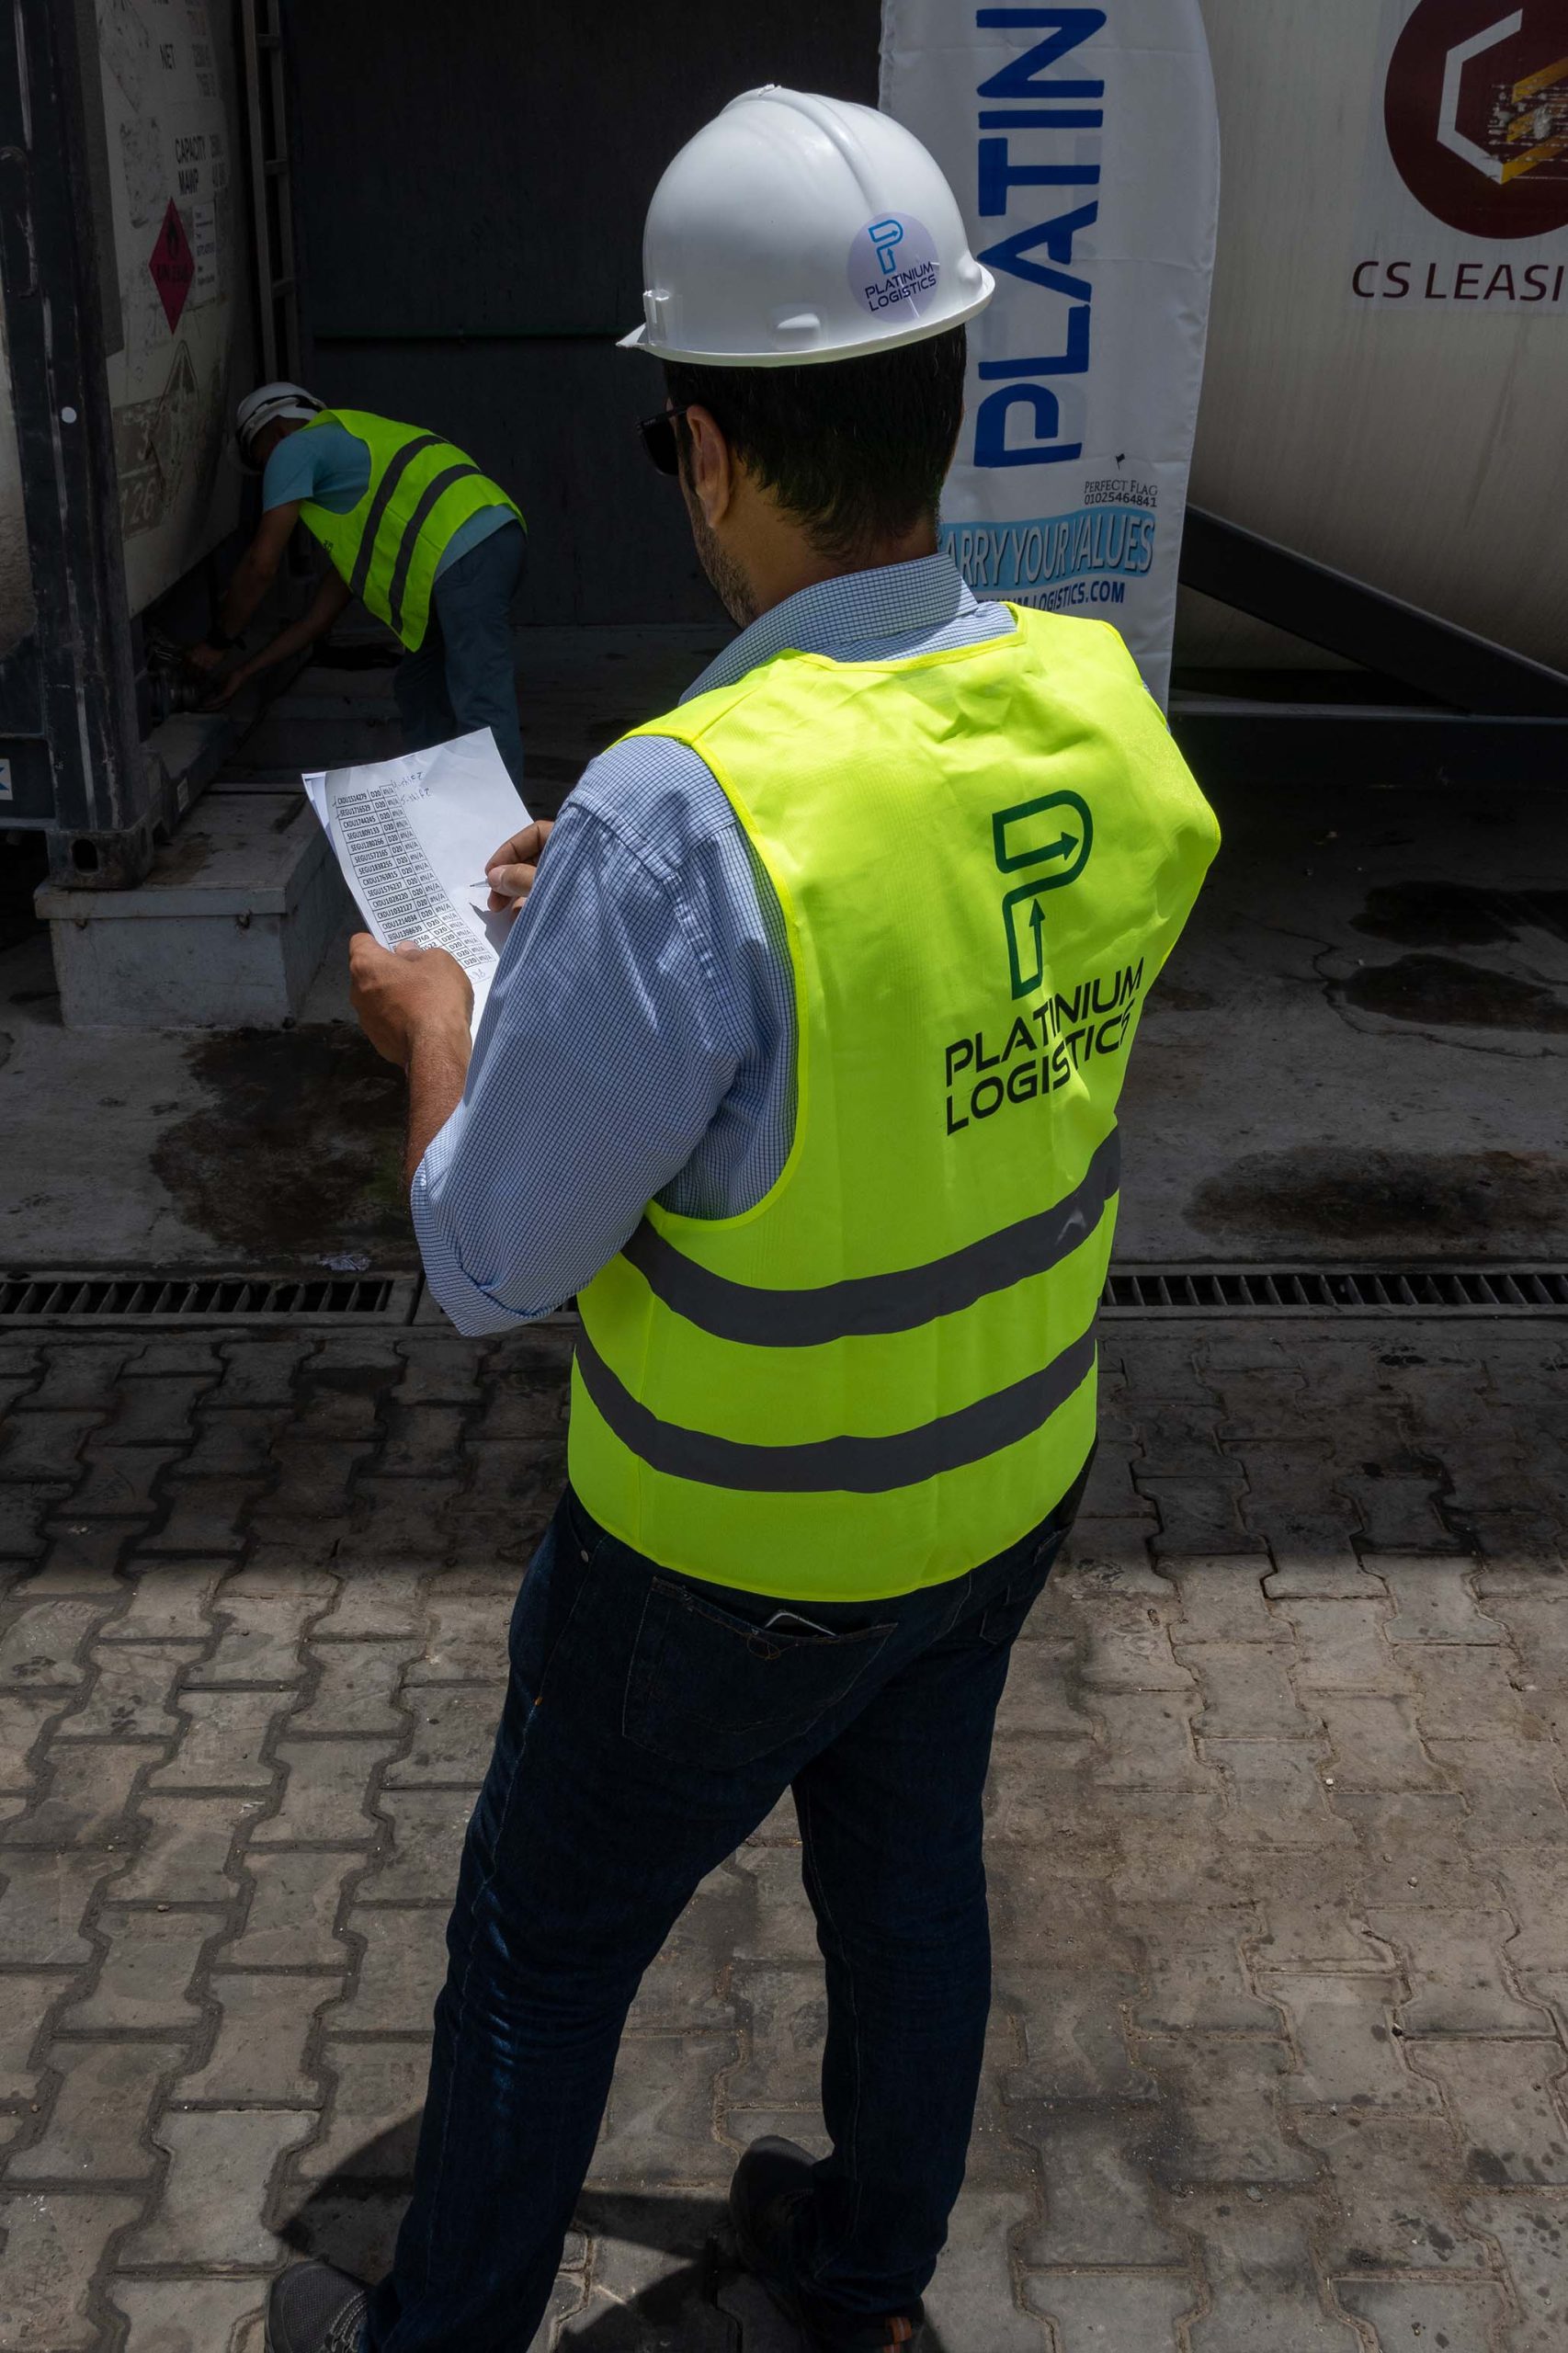
• Thoroughly inspect the tank to identify the extent of damage. This may include visual inspection, non-destructive testing (NDT), and pressure testing.
• Document all findings, including the location and severity of damage, and classify them according to repair requirements. - Safety Precautions:
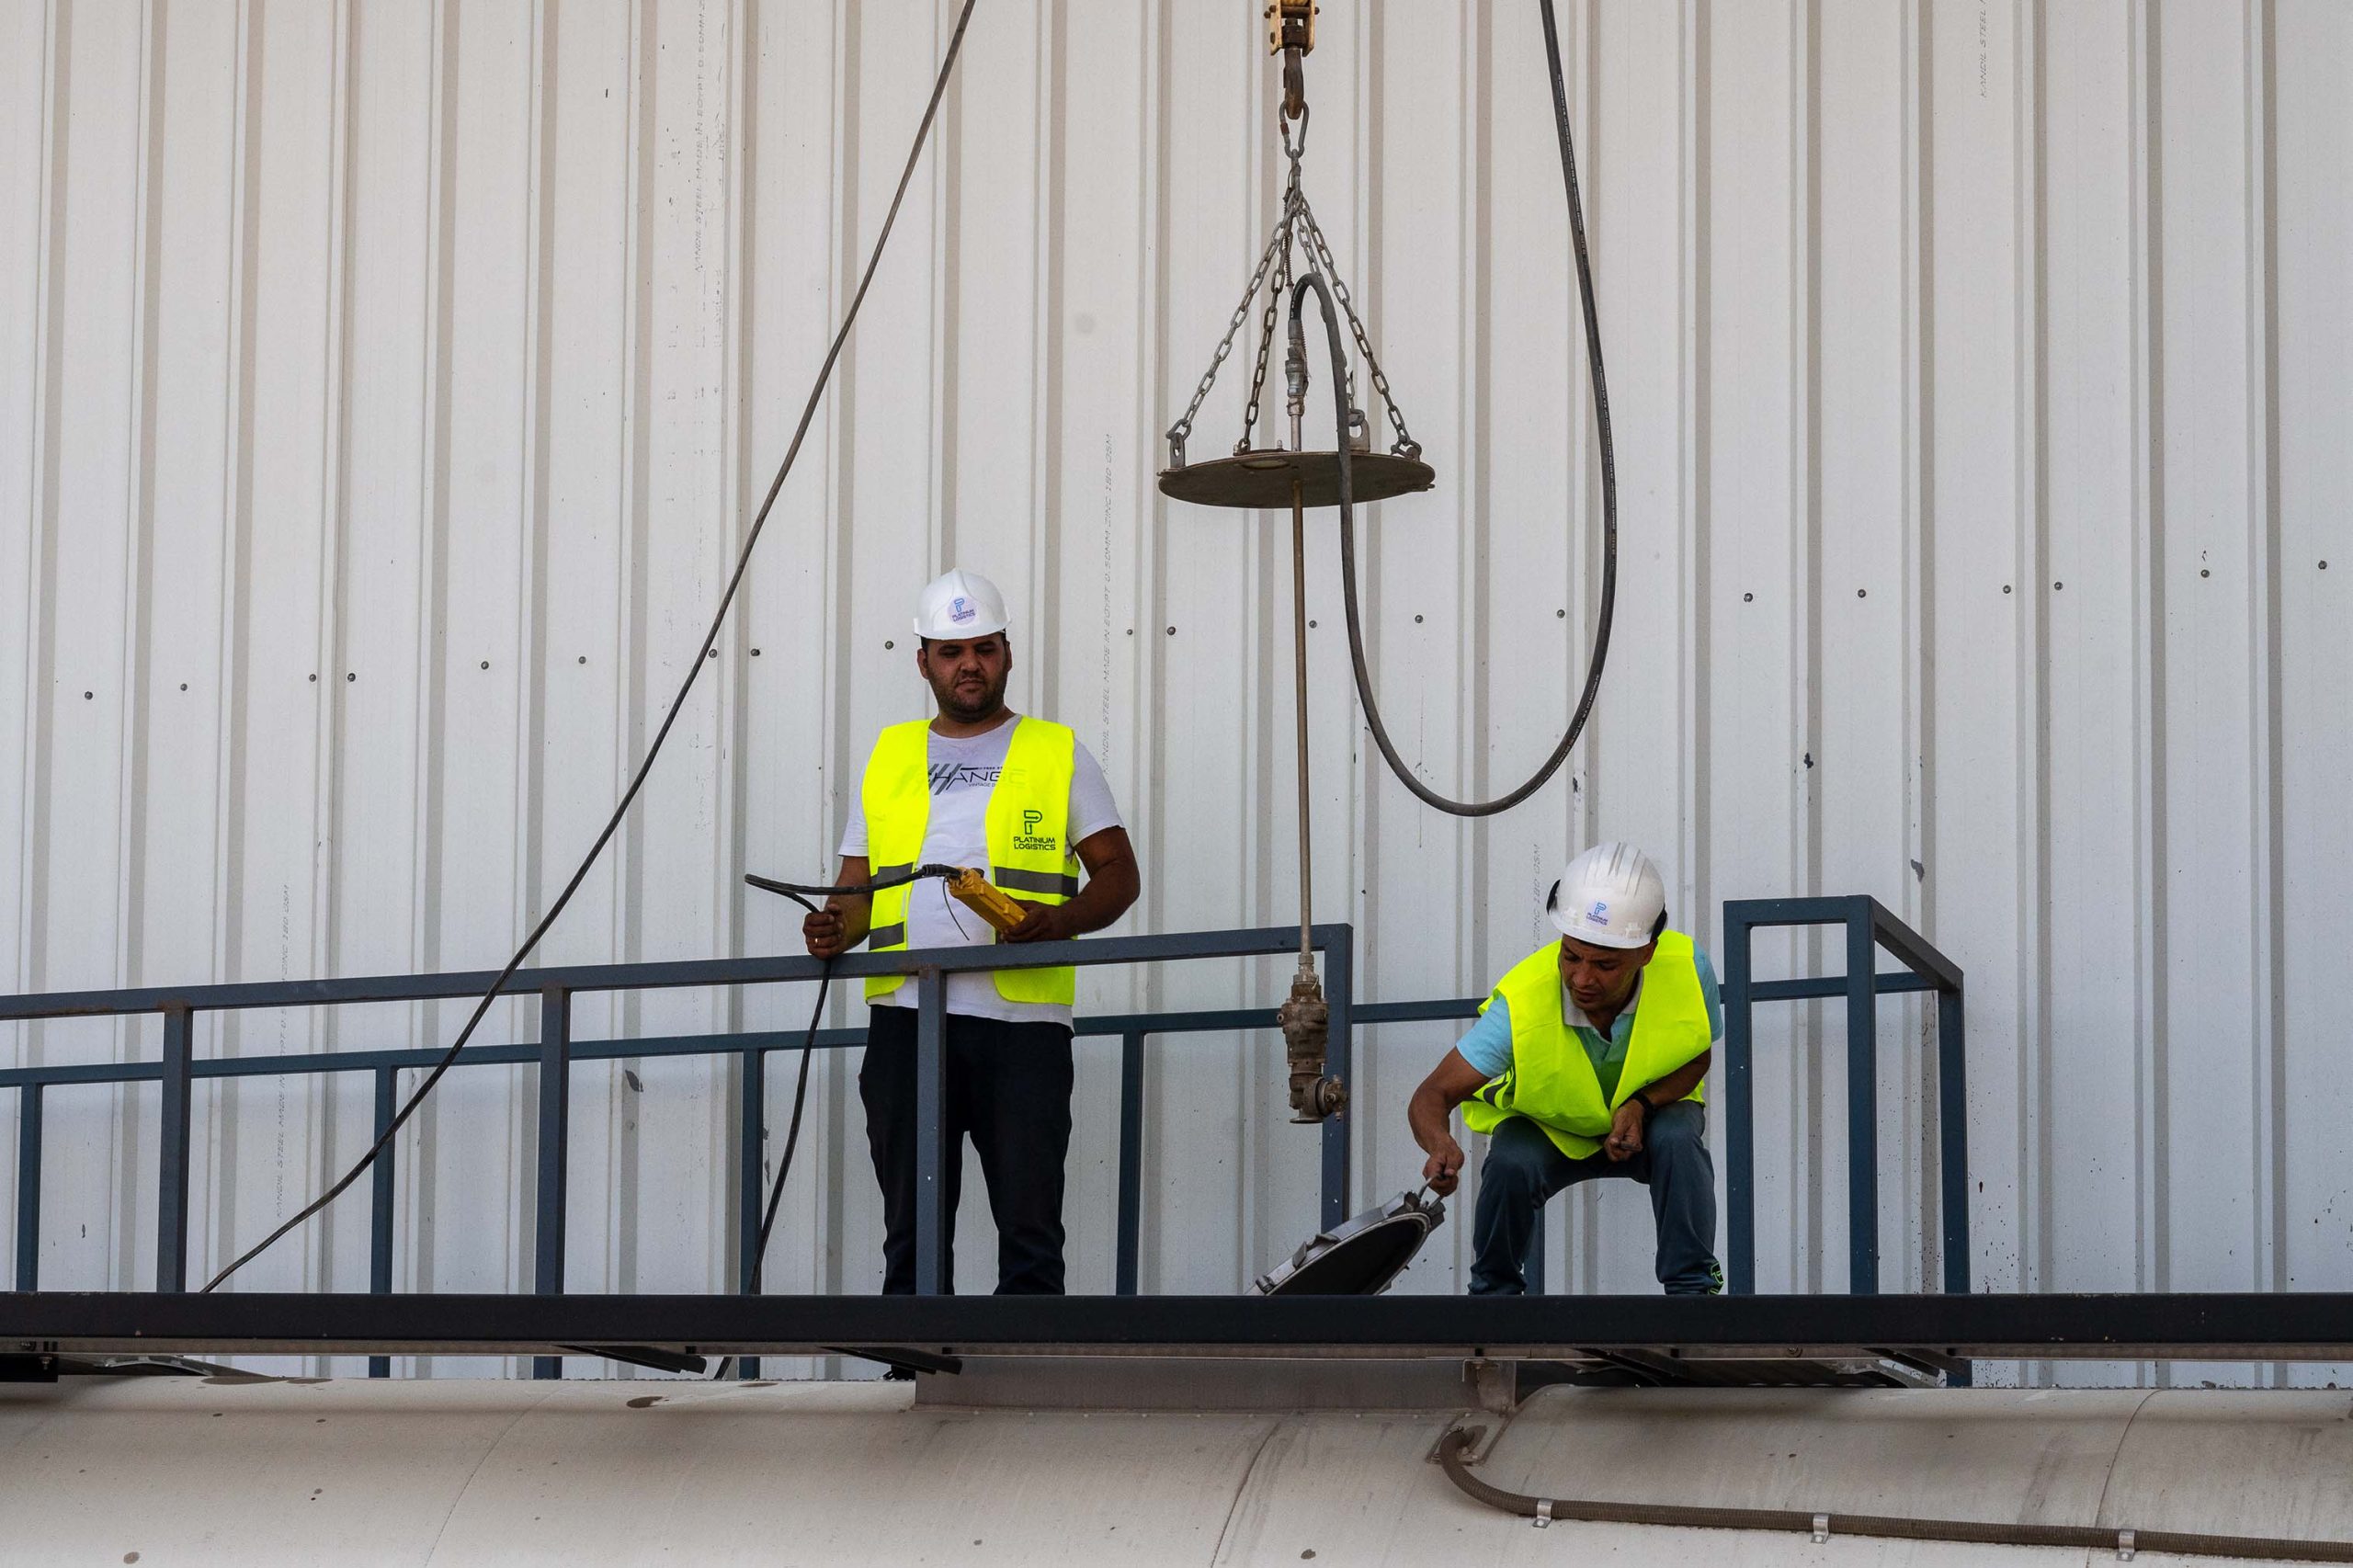
• Ensure the tank is properly depressurized, drained of any residual contents, and ventilated.
• Use appropriate personal protective equipment (PPE) for the repair work, including gloves, eye protection, and respiratory protection if necessary.
• Implement any necessary safety measures to prevent accidents or environmental hazards. - Isolation and Preparation:
• Isolate the tank from any sources of ignition or potential hazards.
• Clean the area around the damaged area to ensure a safe and accessible work environment.
• Prepare any necessary tools, equipment, and materials for the repair process. - Repair Planning:
• Develop a repair plan based on the assessment findings and the nature of the damage.
• Determine the most appropriate repair methods and techniques for each type of damage, considering factors such as material compatibility, structural integrity, and regulatory requirements. - Repair Execution:
• Perform repairs according to the established plan, following approved procedures and industry standards.
• Use appropriate welding, cutting, and fabrication techniques to repair or replace damaged components.
• Ensure that all repairs are carried out by qualified personnel with experience in ISO tank repair and welding techniques. - Quality Control:
• Monitor the repair process to ensure quality and compliance with specifications.
• Conduct inspections and tests as necessary to verify the integrity of the repairs.
• Document all repair activities and any deviations from the original repair plan. - Pressure Testing:
• Conduct a pressure test to verify the integrity of the repaired areas and ensure they can withstand the intended operating pressures.
• Follow established procedures for pressure testing, including gradually increasing pressure and monitoring for leaks or other issues. - Certification and Documentation:
• Certify the completed repairs and document all relevant information, including repair procedures, inspection results, and test records.
• Ensure that all repairs are documented in compliance with regulatory requirements and industry standards.
• Provide appropriate certification and documentation to demonstrate the tank’s compliance with safety and quality standards. - Recommissioning:
• Once repairs are completed and certified, recommission the tank for service.
• Verify that all systems are functioning properly and that the tank is ready for use.
• Conduct any necessary training or briefing sessions for personnel involved in handling the repaired tank. - Follow-Up and Monitoring:
• Monitor the repaired tank periodically to ensure continued integrity and performance.
• Implement a maintenance program to address any issues that may arise over time and prevent future damage.


